Add Games Info To Your Website
1. Create a new API rule (similarly to https://lbvr.net/knowledge-base/reading-leaderboard-through-api/) or edit an existing one and assign the “Website Games” permission.
2. In your website, make sure you have the jQuery framework and a container that will hold the result. If you are unsure what this means, lets assume you want to show up the games at the bottom of one of your web pages. You can create the container through this line:
$('body').append('<div id="loadSvrGamesWidget"></div>');
3. Add the following javascript code:
jQuery.ajax({url: '//api.lbvr.net/javascripts/WordpressWidget.js',dataType: "script",success: function(){window.svrLoadGames({skipVariants: true,groupByCategories: "*" ,container: '#loadSvrGamesWidget',rowSize: '100%',uuid: '111111111-1111-1111-1111-111111111111',gamesPerRow: 3});}});
The above code can be used by only setting the correct UUID (see below).
Parameter meaning:
- skipVariants = [TRUE or FALSE] — if you have any game variants, should they be displayed or skipped (default = TRUE)
- groupByCategories = [CATEGORY_ID(s) or *] — a string of one or multiple categories separated by comma. * means ALL
- container = [selector for the widget container (the one from point 2) ]
- rowSize = [NNN% or NNNpx or NNvw] — CSS value describing the width of the row
- uuid = [111111111-1111-1111-1111-111111111111] — the ID generated during point 1
- gamesPerRow = [INTEGER] — how many games to be displayed per row
Optional: to add a search field on your site, you can use/adjust the following HTML code:
- <div>Search: <input type=”text” onkeyup=”window.
svrSearchTitle(this.value);”>< /div>
4. Because all the code is loaded in your web page, you can freely style the result through CSS.
At that point, you are done with the additions to your web page.
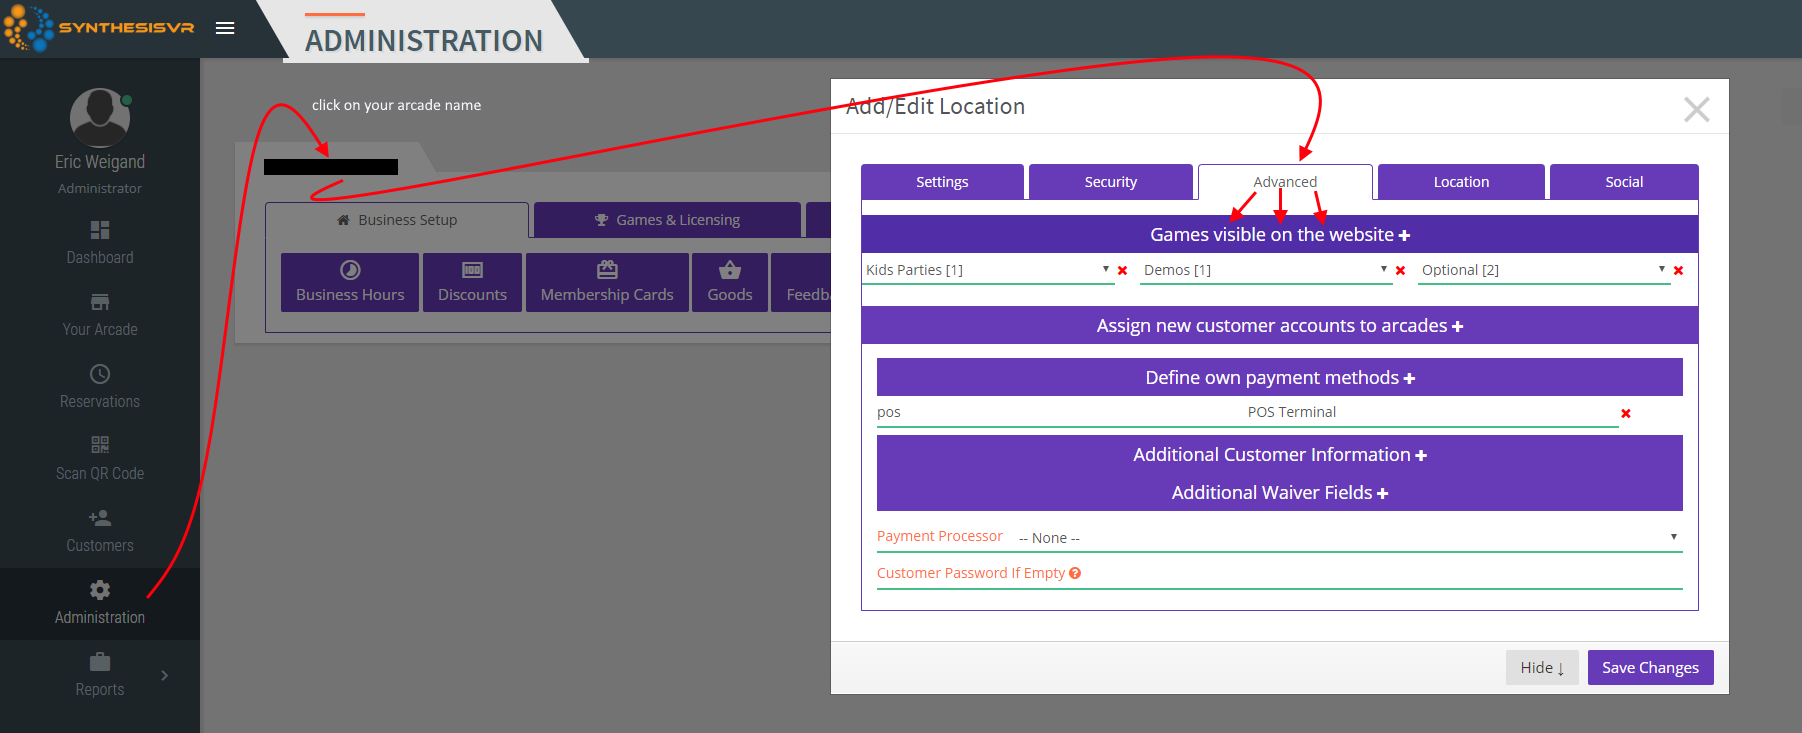
5. Under the SynthesisVR web administration, go to “Administration” and click on your arcade name. Switch to the “Advanced” tab and add the game categories you want to be visible on the website (click multiple times on the [Games visible on the website +] button). You can use the same categories you are using with your Business Rules.
If you have to exclude any game from your website (normally – games that aren’t available to your customers), you can create a new Game Category of type “Restricted Access – Enforced”. Assign all those games to the new category and then assign that category the way described above. All those games will be automatically excluded from your website. No additional processing will be needed.