Licensing Content 1.0
Manage your licenses the professional way with licensing through SynthesisVR. This will walk you through how to set up the licenses and the different types that are available.
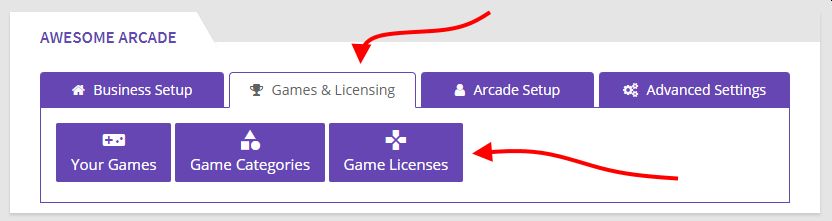
- Click on the Game Licenses button from the Games & Licensing Tab in the Administration section.
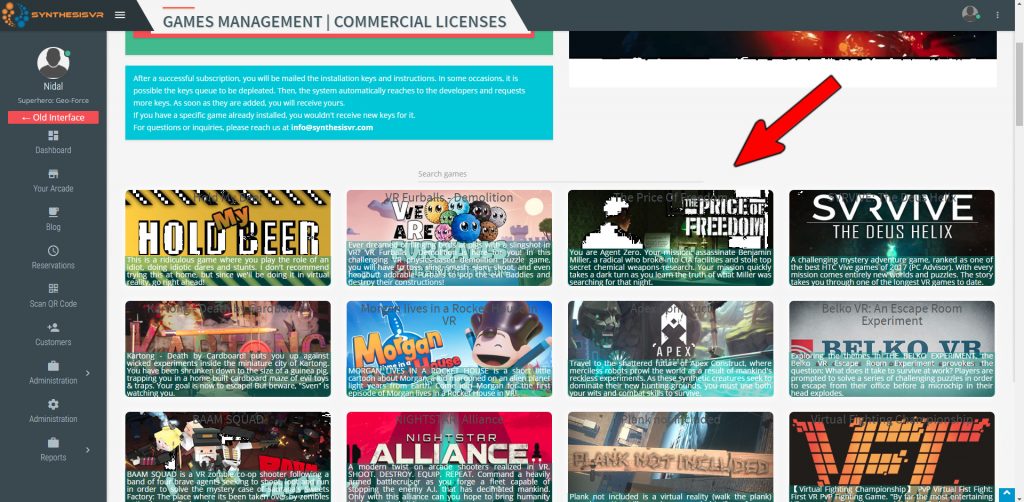
- Scroll down and find the game (or games) you’re looking to license and click on any of them to open the game specific information.
- In the game menu, you can view screenshots, game description, and a game trailer.
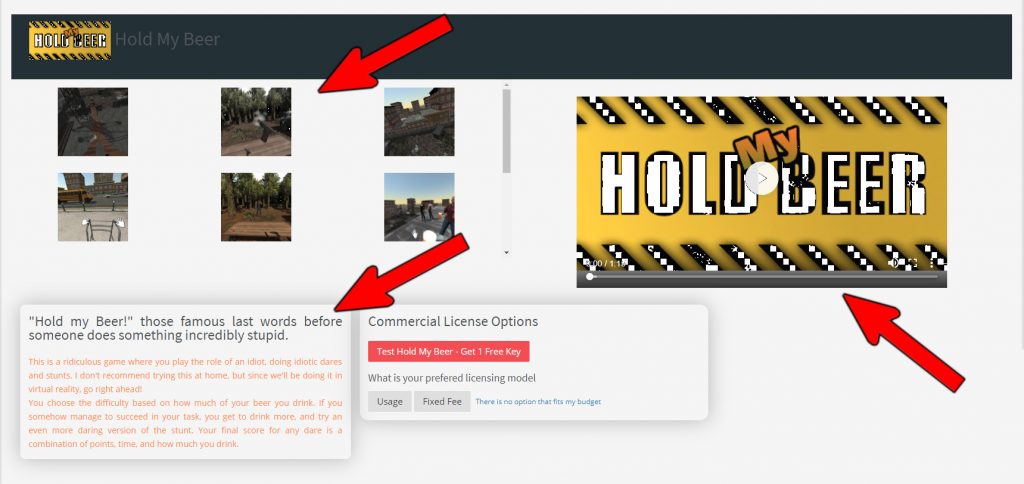
- For licensing, you will see several options depending on the game. For games that offer it, you may see the option to get a test key or keys. If you click on that and have multiple stations, you will be prompted for which station you want to set up the key.
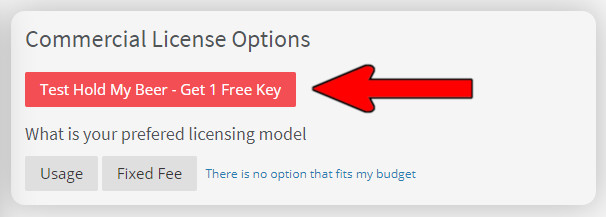
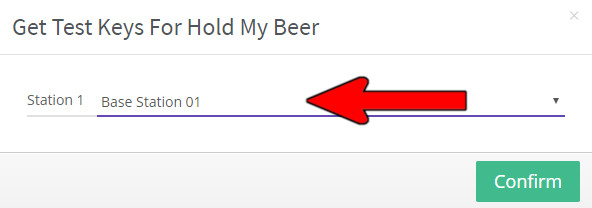
Once you’ve chosen a station and clicked on confirm, the “Test” option will no longer be available and any additional stations would need to have a license added. Also note that the station that has the test key may at some point stop working and you will need to purchase a license for that. To finish this process, you can jump down to Step 15 and come back when you’re done.
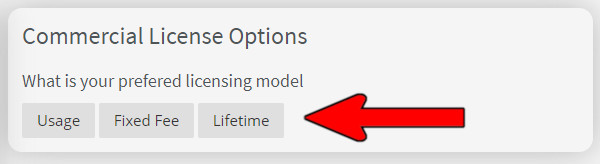
- When it comes to license options, you may have up to 3 options depending on the game selected. Usage, Fixed Fee, and Lifetime. Each will be explained in the steps that follow with how it might be used. Not all games offer all license types.
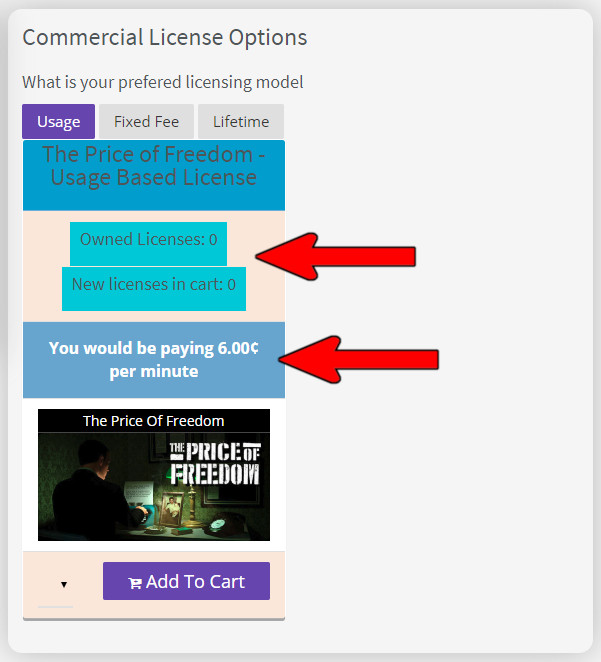
- Usage is charged based on how much the game is used and is per minute. From the Usage section, you can see if you already have a license for this game and how many you already own. You can also see the cost per minute of the license. Note that some games have a different per minute charge based on your overall monthly usage so, for example, if you use more the 10 hours a month for one game, you might only be charged 8 cents instead of 9 cents.
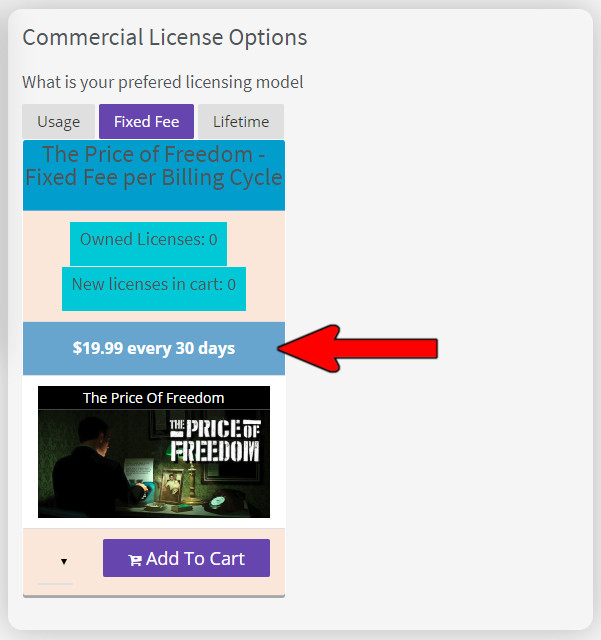
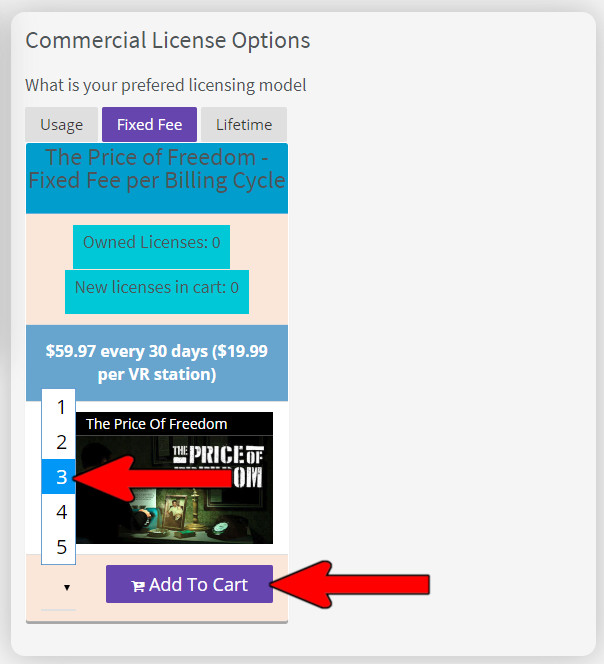
- Fixed Fee will have a set monthly charge shown. This will have unlimited use of the game during the time frame listed (per station/license). Note that the amount shown is for 30 days, months with 31 days will be slightly higher (pro-rated for the extra day), and February will be slightly lower (prorated for the extra 2-3 days).
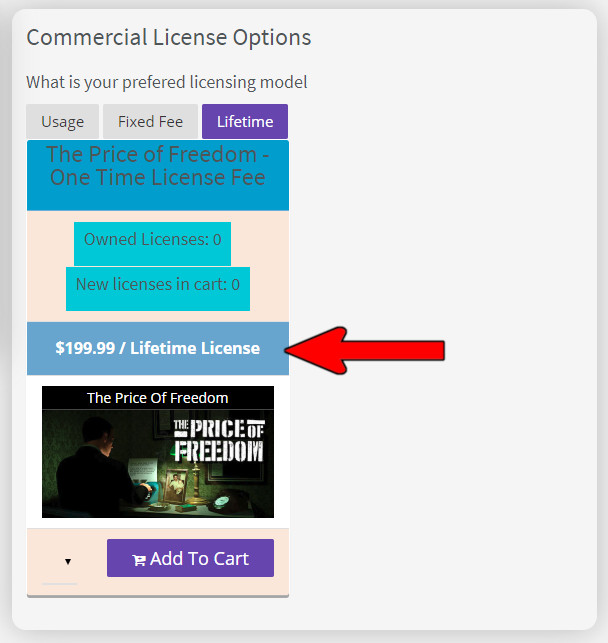
- A Lifetime license will be for the lifetime usage of this game in your arcade. This is the overall least expensive way to license a game depending on how much usage you believe you will have of this game. Again note that this is per station/license.
- Keep in mind that you can do some mixed licensing where you could have, for example, 2 Fixed Fee licenses (good for multiplayer games) with the remaining stations being by Usage. When that’s done, then the first 2 stations used for a specific game will use the Fixed Fee license pricing and if the game gets played at the same time on any additional stations, those extra stations will use the Usage license. Based on your arcade’s usage, this could save costs, especially if you mostly use a game on a limited number of stations when it is being used.
- Once you’ve chosen which licensing method you’d like, you’ll need to choose the number of licenses you’d like to purchase. As per step 9 above, it might make sense for you to, for example, choose 2-3 Fixed Fee licenses and the remainder would need to be Usage. Once you’ve chosen the number of licenses, click on the “Add to Cart” button. If you’re doing a mix, choose the Fixed Fee first, choose the number of stations, click “Add to Cart”, then click on the Usage tab and choose the remaining number of stations and again click the “Add to Cart” button.
- After adding in all the games and license types to that you want to your cart, click on the 3 dot menu in the top right and then click on the “View Cart” button to go to your cart.

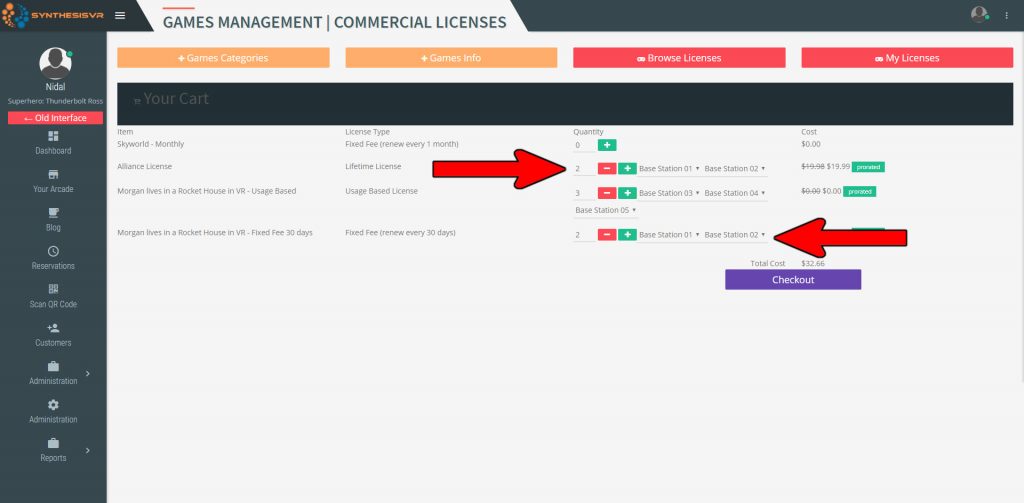
- From within your cart, you can make adjustments to the amount of licenses and for which types of licensing you want with the “–” or “+” buttons. From here you can also choose which stations to install for which type of license using the drop down menu. Although initially it doesn’t matter which station you pick for which type of license, it matters that you don’t choose the same station for the different types of license. By making sure you’ve chosen all the stations you have, you’ve made sure that all statons get a proper activation key and each of your stations will have a copy of the game installed.
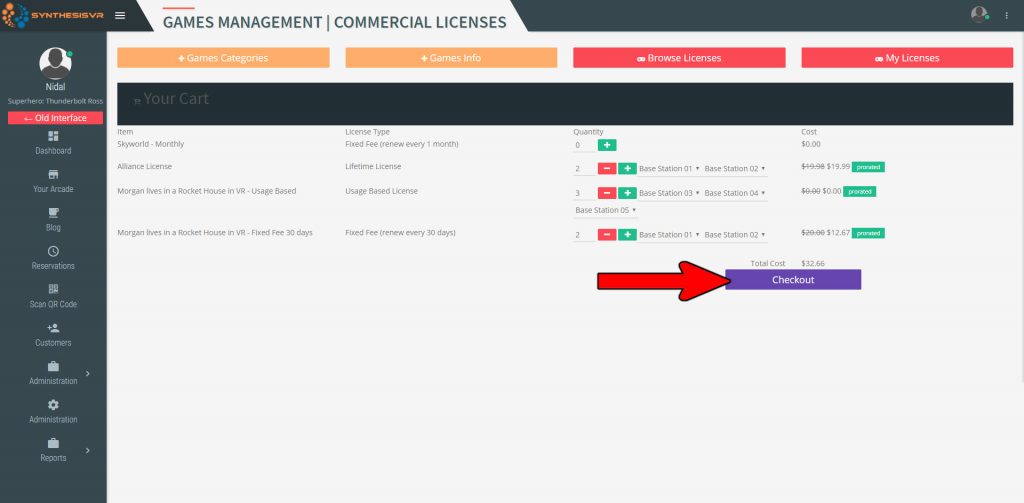
- When done with all the adjustments, click on the “Checkout” button. If your licenses are just Usage ones, then you are done there will be no charge at this point. If you chose any Fixed Fee (or Lifetime) licenses, then your credit card on file will be charged the total owed shown.
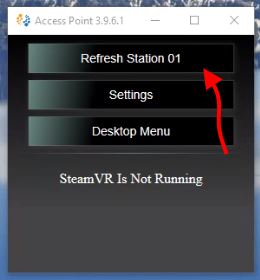
- Go to any of the stations that you purchased a licence for and bring up the SVR dashboard. Click on the “Refresh” button and Steam will automatically apply the appropriate activation code to that game.
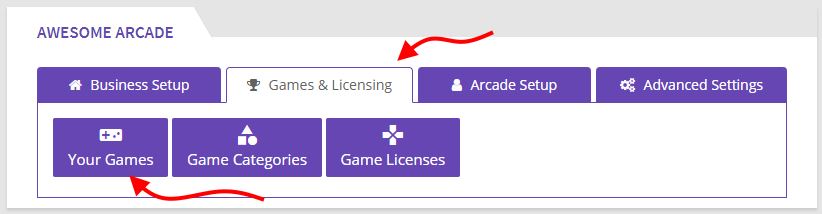
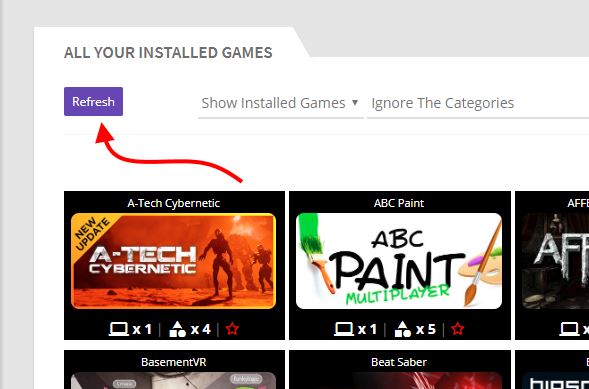
Alternatively, you can go the Your Games section of the Games & Licensing Tab in the Administration section and click on the Refresh button there which will initiate a refresh across all stations.
- After the refresh, head over to your Steam Library and you’ll see the games just licensed in your list of games, but they will be grayed out (or a lighter gray than your installed games). This indicates that the game is now in your library and activated, it just needs to be installed on your local computer. You’ll need to right click and and choose “Install” for each game from there and once installed things will be ready to go.