Square Part 1 – Standard Setup
Make sure you are subscribed for the SynthesisVR’s Square module:
- Go to “Administration >> Arcade Setup >> SynthesisVR Subscriptions” and subscribe for the “Square Payments” module (it is free).
Once subscribed, you need to set up a new app account on Square by heading to https://developer.squareup.com/apps and logging into your square account (if not already logged in).
You need to set up a new “app” to allow SynthesisVR to connect to Square. First, you’ll need to click on the big “+”

Create an Application Name (like Arcade Name Square Processing or something) and then click on Save.

Once created, click on the Open button to get to all the data you will need:

You’ll then need to get the information from both the Sandbox and Production sections (within the Credentials section, which is where you start):


As well as location information from the Locations section (again, both Sandbox and Production):
You will then paste this information into your Square Settings (not that “Live” is equivalent to “Production”:


To integrate Square into SynthesisVR for payments in your store, head to “Administration” and click on your arcade name. You will get a popup. Locate and change the following option:
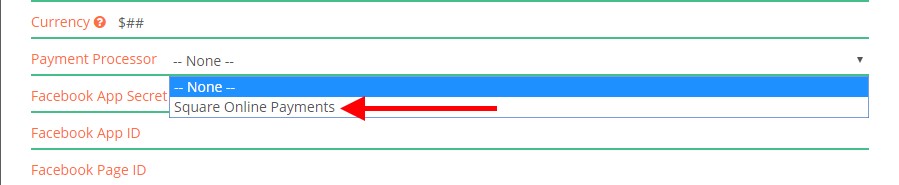
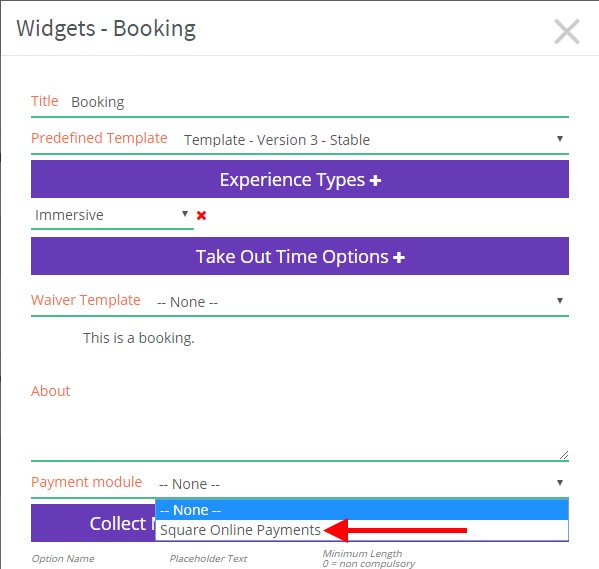
If you are looking to integrate Square into any web widgets, make sure the correct payment processor is assigned in there as well:
Sandbox Mode:
For using Square in Sandbox mode, please add the following to “Add HTML before the BODY tag closure”:
<script>window.svr.squareNonce = 'cnon:card-nonce-ok';window.svr.squareUpURL = 'https://js.squareupsandbox.com/v2/paymentform';</script>
When testing the widget, use the following ZIP code:
- 94103
For testing different payment scenarios, please refer to the test Square data: