Waivers
Waivers are an extremely useful part of the arcade management process, which also goes beyond the obvious part of getting a waiver signed. It integrates into deeper parts of your arcade as you’ll see below.
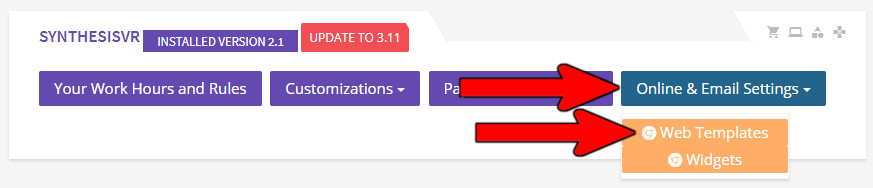
- The first thing you’ll need to do (if you haven’t already) is to set up your logo. From the Administration menu, click on the “Online & Email Settings” drop down menu, followed by the “Web Templates” option.
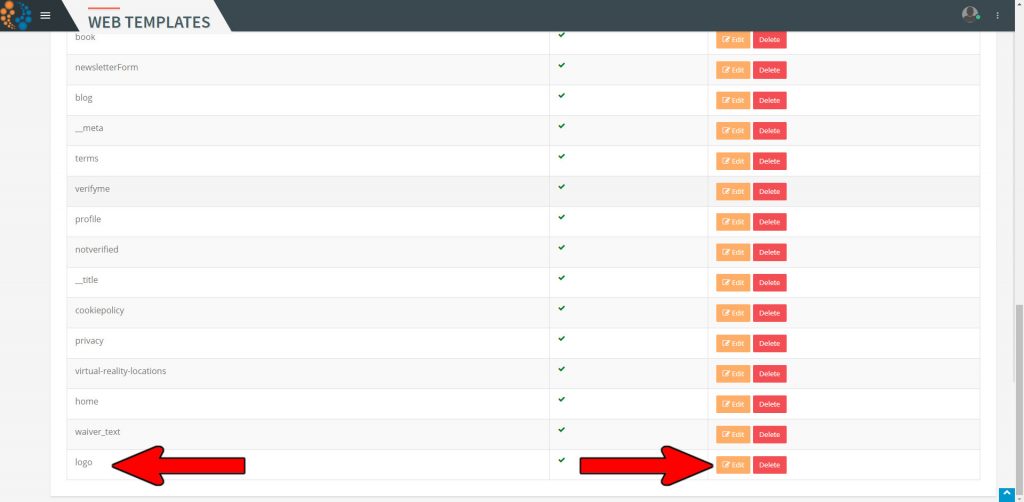
- Scroll down until you see “logo” on the left side and click on the “Edit” button.
- In the HTML section, you’ll want to put the URL of the location of the logo (minus the “http:” part). Note that this can also be a Google Drive link for a shared “view only” file.
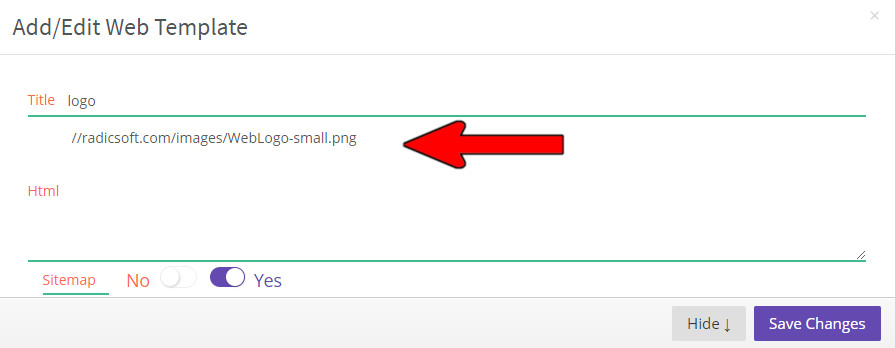
- Click on the “Save Changes” button to save the changes or click on the “Hide” button or the small “x” in the top right to cancel.
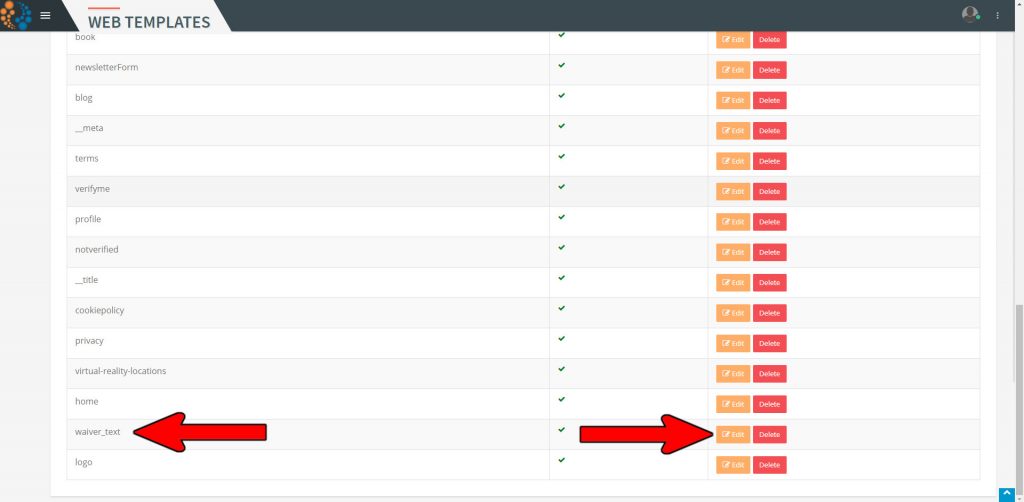
- Once you’ve saved the logo, you’ll want to edit the waiver. From within the Web Templates section, scroll up/down until you see the “waiver_text” on the left side and click on the “Edit” button on the right.
- Edit your waiver text within the “HTML” section. Keep in mind that this section does allow (and in some cases require) html coding, but most of it is simply using paragraph breaks, possibly bullet points, and add external links. We can help format an existing waiver if you need help or you can consider an html editing program as well for more complex text. Our suggestion is to keep it simple, don’t over complicate it for the customer. You can also view your edits by going directly to
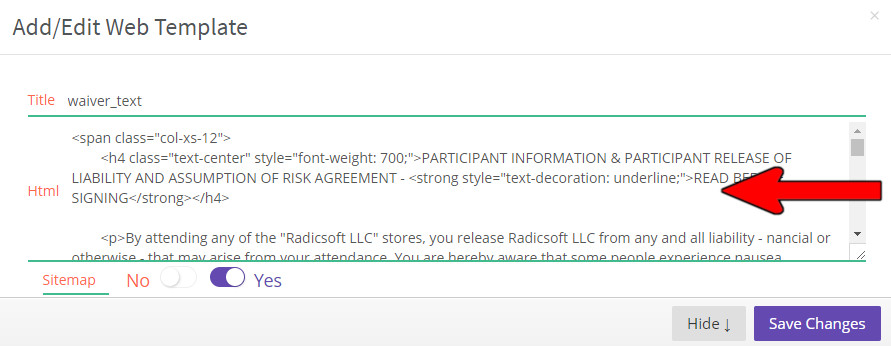
- Once you’re satisfied with the Waiver (you an always edit it later), click on the “Save Changes” button in the bottom right. If you want to abandon any changes you made, click on the “Hide” button on the bottom or the small “x” button on the top right.
At this point, you’ve created your Waiver. What follows will be how to use it within your arcade.
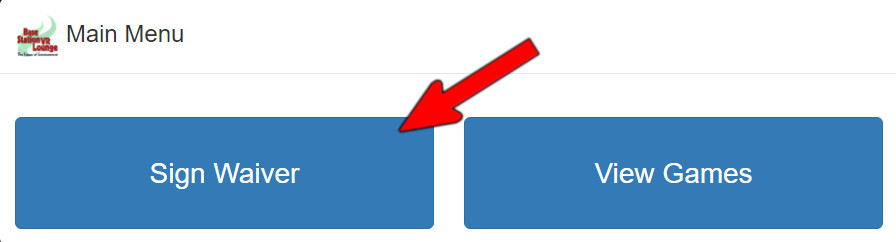
- On whatever computer/tablet you are using for your waivers, head over to the following link (be sure you are logged into your arcade with a user account and are on the same network as your arcade server): https://api.lbvr.net/widgets/waiver
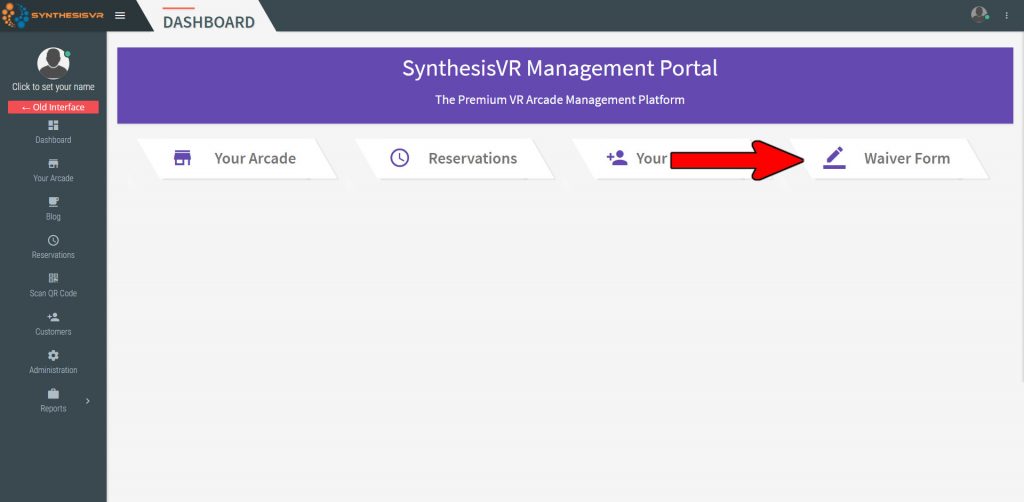
You can also get to the waiver by going to your Dashboard and clicking on the “Waiver Form” button. This will open your waiver in a new tab in your browser.
- From that screen, you can click on “Waiver” to be presented with the waiver form.